Thank you very much for purchasing our template. We've put a lot of hard work into it, and we hope you love it as much as we do. As far as the documentation is concerned, we have tried to cover as much as possible to help you get your new template up and running and to help you customise it.
Install Theme
To install this theme it is essential to have a working version of WordPress already installed. For the information about WordPress platform installing, please see the WordPress Codex. After you download the “irepair.zip” file from Themeforest you will have all the necessary files . Then you should extract the “irepair.zip” file and you will find the theme zip file called “irepair.zip”inside. You need to install this file.
- democontent
- revsliderTheme Revolution Slides
- wp-import
- content.xmlTheme demo xml
- pluginsTheme Plugins
-
theme
- irepair.zip Theme file.zip
- irepair-child.zip Child Theme file.zip
- Navigation > Appearance >Themes.
- Click Install Themes and press the upload button.
- Navigate to find the “theme/irepair.zip” file on your computer and click “Install Now” button.
- The theme will be uploaded and installed.
- Activate the newly installed theme. Go to Appearance > Themes and activate the installed theme.
Video Installation
codex.wordpress.org:Installing new theme
This video installation guide our template via admin panel of your site. If due to the features of your server you can not make downloading a template through a web interface then use the second method of installation via FTP. You will learn how to install the template as well as all the required plug-ins (please do not forget to install and activate them).
Install via FTP
- Log into your hosting space via an FTP software
- Unzip the theme/irepair.zip file and use the extracted irepair theme folder
- Upload the extracted irepair theme folder into wp-content themes in your wordpress installation
- Activate the newly installed theme. Go to Appearance Themes and activate the installed theme.
- ftp folder
- wp-includes
- wp-admin
- wp-content
- themes
- irepair
- themes
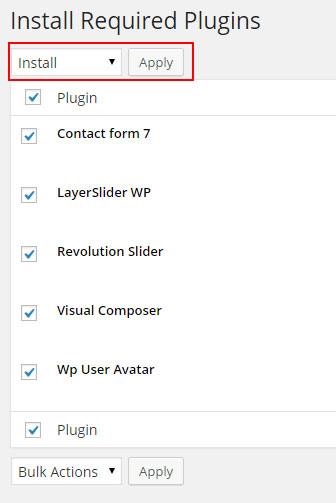
Required Installation
Please dont forget to install all the required plug-ins

Import demo content
First please check that you are using PHP version 7.0 or greater.
You can increase the PHP limits by your own or contact your web host and ask them to do it. Recommended values:
- max_execution_time=300
- max_input_time=300
- memory_limit=256M
- post_max_size=512M
- upload_max_filesize=256M
Edit your wp-config.php file
Add this to the top, before the line that says, “Happy Blogging”:define('WP_MEMORY_LIMIT', '256M');
All-in-One WP Migration
This method is best but will complete overwrite your database. Use only if your site is clean.
This is a complete installation of your database which will result in the lose of your old data.
New access to the admin panel will:
user: admin
pass: admin
First please download demo content:
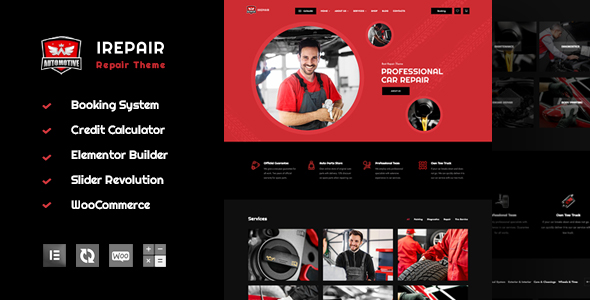
iRepair
Using plugin All-in-One WP Migration you can easily create your website 100% similar our demo.
If the current version of the plugin does not allow you to import content, try to install the version in which these archives were created All-in-One WP Migration 6.77
Please learn this video tutorial
One click import
This metod recommended if not work All in One
You can either start building your site from scratch, or import one of our demo sites and then modify it to fit your needs.
Please, do not forget to install and activate all the required plugins.
Here's what you need to do:
- Login to WordPress admin
- Go into Apperance > Import Demo Data
- Choose the demo site that you wish to import and click on the "Import" button.

Default import
This metod recommended if not work One click or All in One
Additionally required:
- Import demo slides (content/revslider)
- Specify the menu
- Specify the home page and blog
- Specify footer (appearance - customizer - footer )
What you need to do is follow the instructions that are taken from the Importing Content page from the WordPress website. To import from a WordPress export file into your blog follow these steps.
How to Use the XML File to Import the Demo Site’s Content
- Log into your site as an administrator.
- Make sure you activated your new theme before proceeding.
- Go to Tools → Import
- Choose “WordPress” from the list.
- Upload the demo content/irepair.xml using the form provided on that page.
- You will be asked to map the authors in this export file to users on the blog. For each author, you may choose to map to an existing user on the blog or to create a new user.
- You will then have the choice to import attachments, so click on the “Download and import file attachments” box.
Please be patient while WordPress imports all the content. Posts, Pages, Projects, and Menus are imported. You will need assign the menu a theme location & you’ll need to configure widgets. This is a limitation of WordPress’ import system. Enjoy!
Many issues that you may run into such as; white screen, demo content fails when importing, empty page and other similar issues are all related to low PHP configuration limits. You can check it by installing a simple plugin found here.
Theme Customize
For theme customization, go to the Appearance - Customize
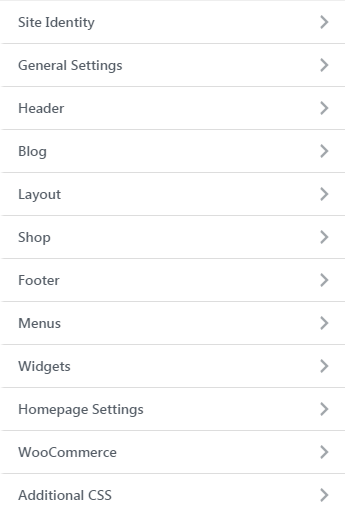
General Settings
Logo
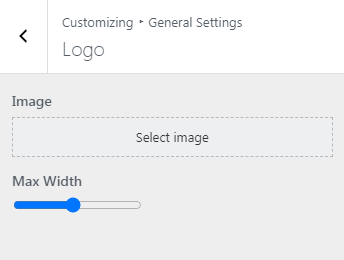
- Set your site logo
- You can change this image size by changing width value
Colors
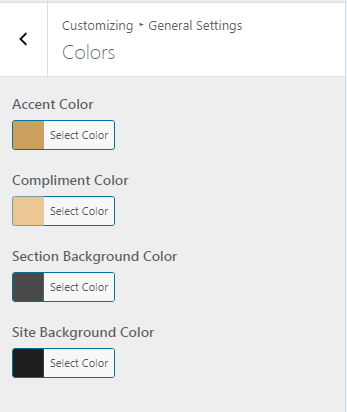
- Set your site main color
- Set your site additional color
- Set your site section (header, footer) background color
- Set your site background color
Other
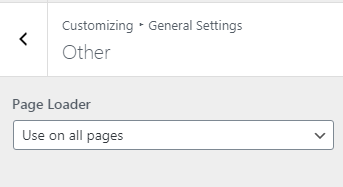
- Plage Loader switch
Header
Header Colors
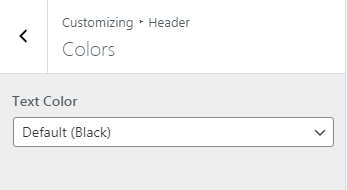
- Header Color. Black color for light background or White color for dark background
Header Catalog
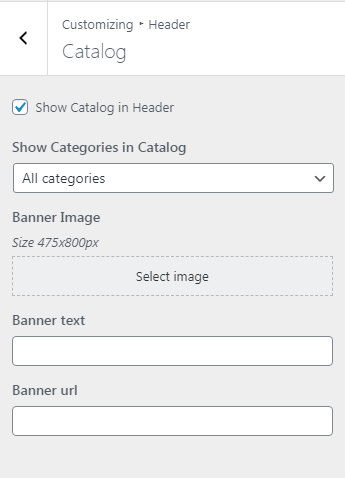
- Show or not catalog in the header
- Select which product categories to show in the catalog (all or selected)
- Add banner image in header catalog
- Add banner text in header catalog
- Add banner url in header catalog
Header Elements
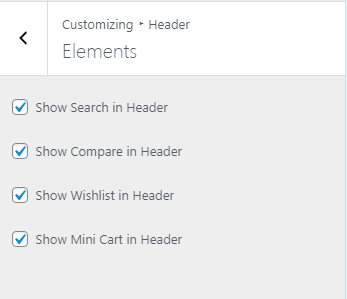
- Show or not search in the header
- Show or not compare in the header
- Show or not wishlist in the header
- Show or not mini cart in the header
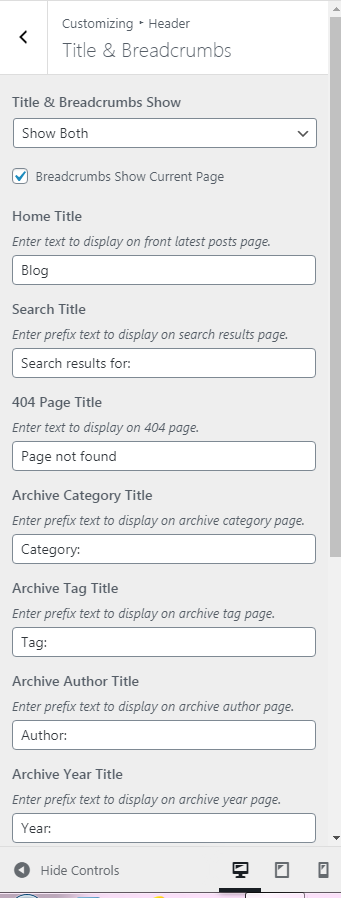
Header Title & Breadcrumbs
Header Paddings & Margin
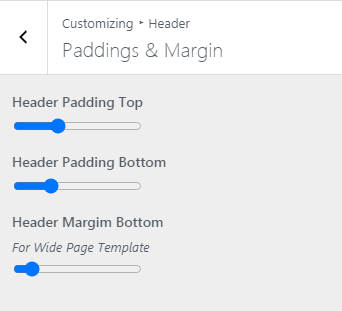
- Set top padding for the header
- Set bottom padding for the header
- Set bottom margin for the header of Wide page template
Blog
General Blog

Posts Archive

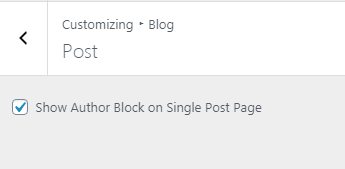
Post
Layout
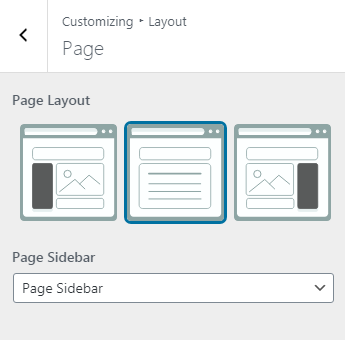
Layout Page
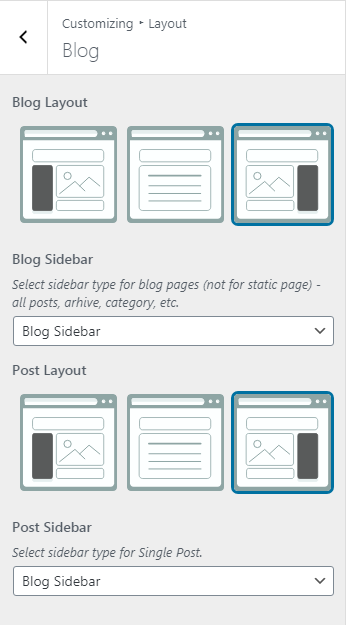
Layout Blog
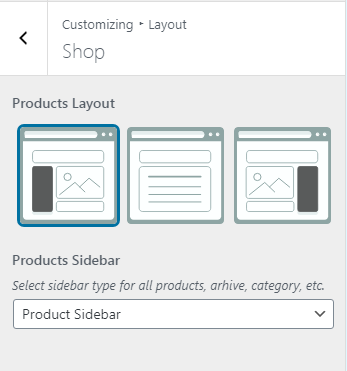
Layout Shop
Shop
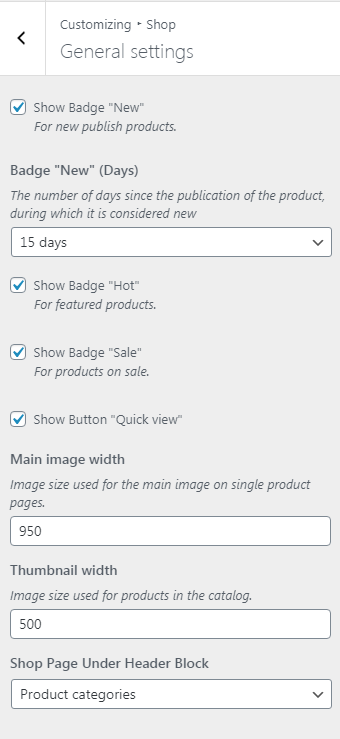
General Shop
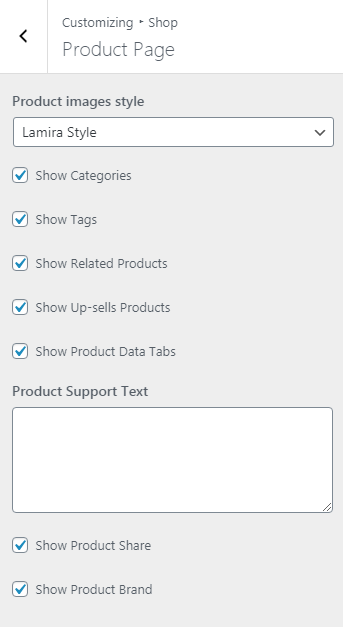
Product Page
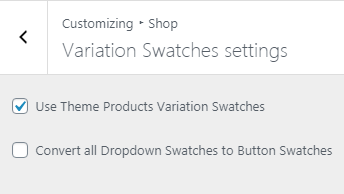
Variation Swatches
Footer
Footer

Footer settings
First please edit and choose footer in Customizer -> Footer .
To setup and edit the footer please use Theme Elementor Sections.
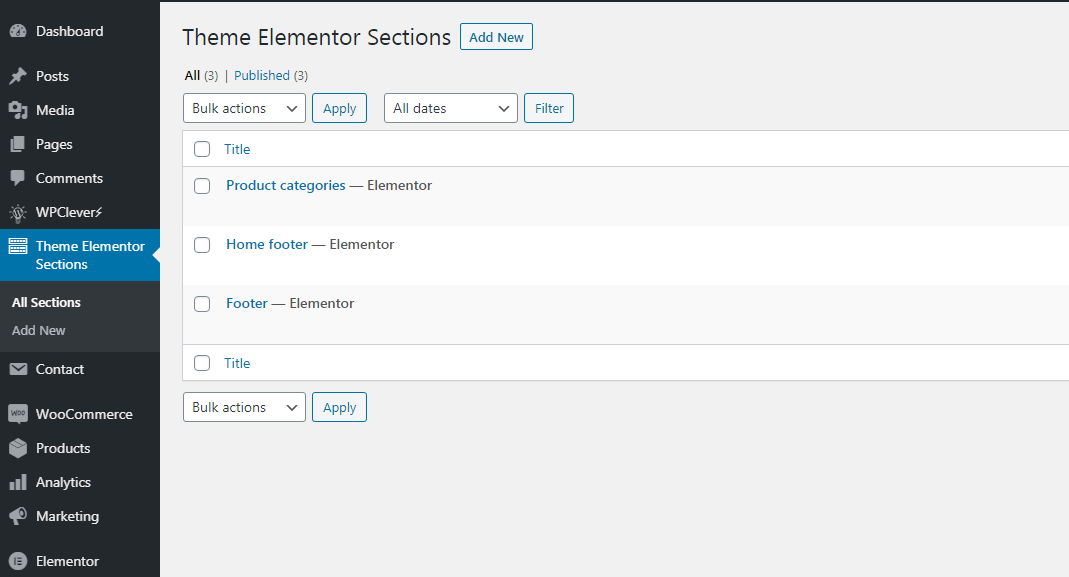

Now you can create unique footer and add them to your footer in theme customizer.
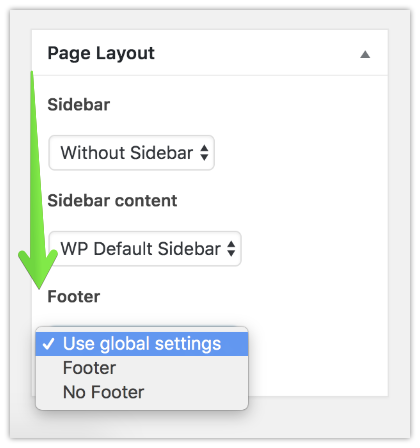
Also you can create and specify unique footer for each page in page settings
Elementor
Elementor gives you instant access to built in content elements. Each content element has been carefully crafted and offers multiple options that will enable you to build any layout you desire. You can build complex layouts based on these content elements within minutes, and without requiring a single line of code. Please check this video tutorial:
- Documentation: elementor.com
- Video tutorials: Elementor Website Builder for WordPress
Theme elements
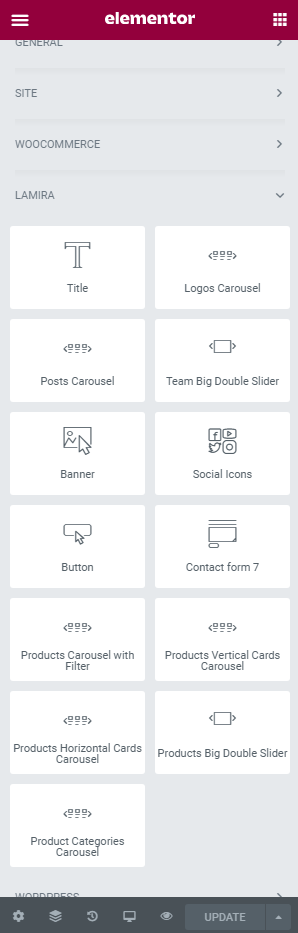
In Elementor we added a custom Theme elements . You can use it for create your own unique style.
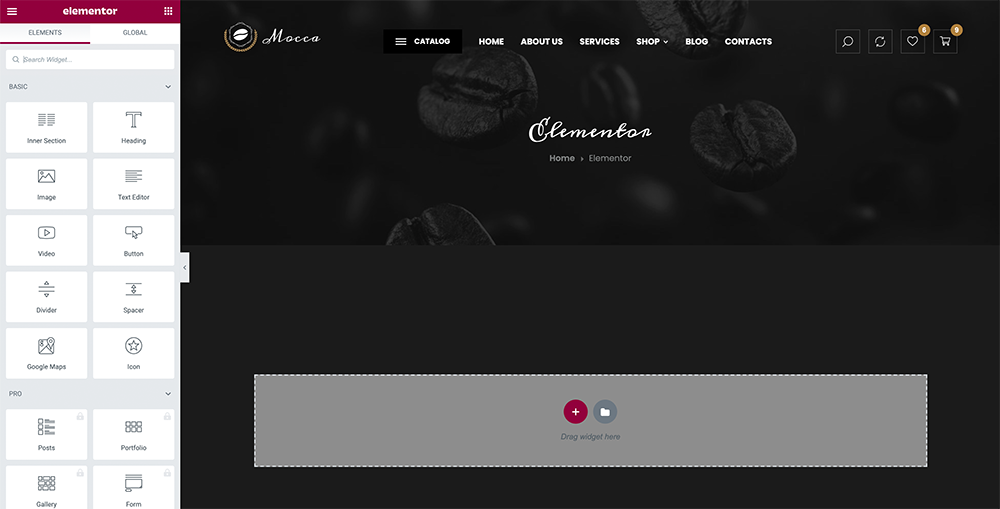
Step 1 - Log in to your WordPress Administration Panel.
Step 2 - Click on Pages > Add New
Step 3 - Click on Edit with Elementor
Step 4 - Click on iRepair
Section Settings
To create a new unique section use default section settings and also theme section options .
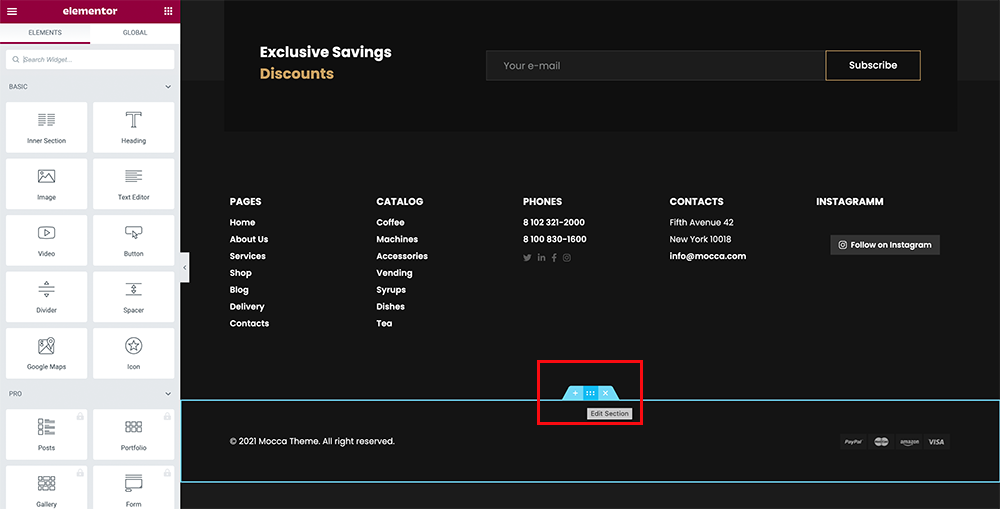
Step 1 - Log in to your WordPress Administration Panel.
Step 2 - Click on Pages > Add New
Step 3 - Click on Edit with Elementor
Step 4 - Click on Add new cection
Step 5 - Select section structure
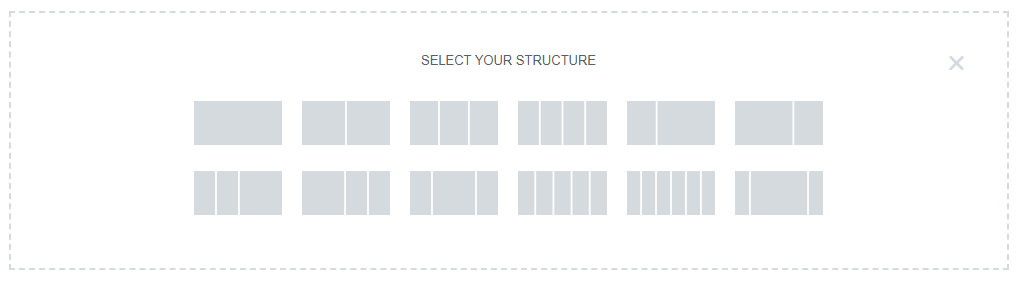
Step 6 - Edit section
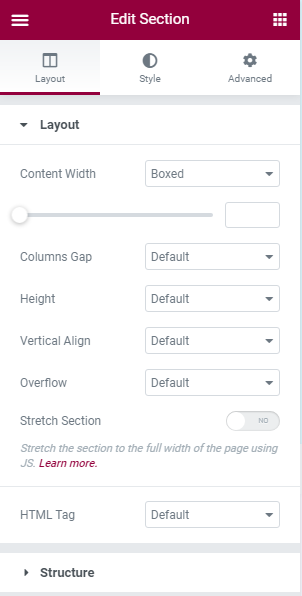
Modify Section Layout
Step 1 - Go to your page / post, first click the edit with Elementor and click Edit section
Step 2 - Select the Structure

Step 3 - Click on the Update
Edit Element
Pencil Icon - To Edit Element you need to click the Pencil icon.
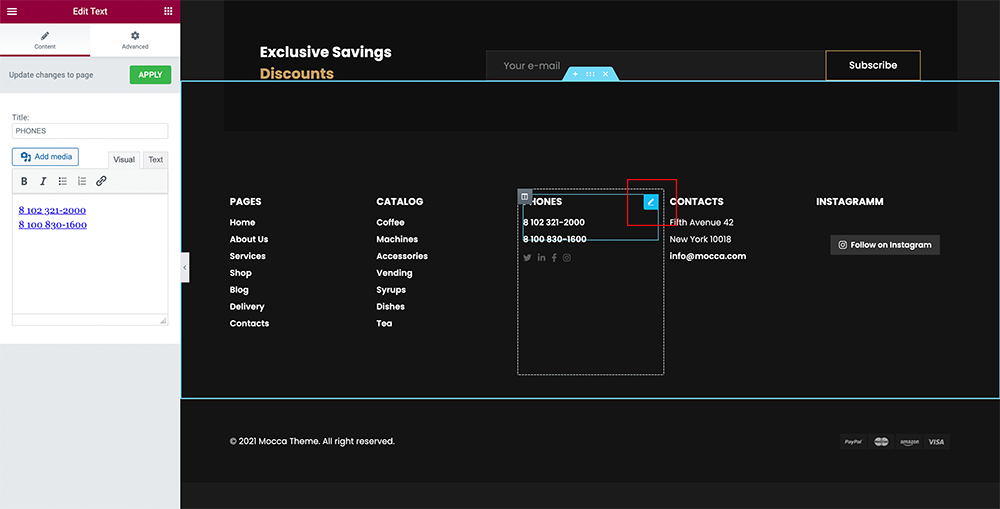
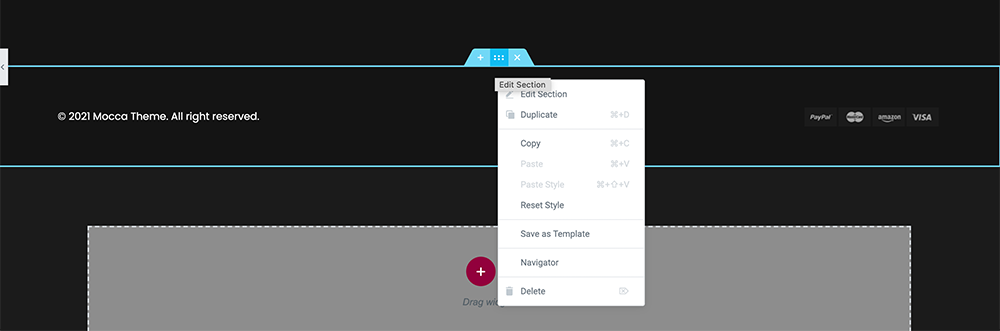
Duplicate or Remove Section or Element
To Duplicate or Remove Element you need to right-click on the icon Edit.
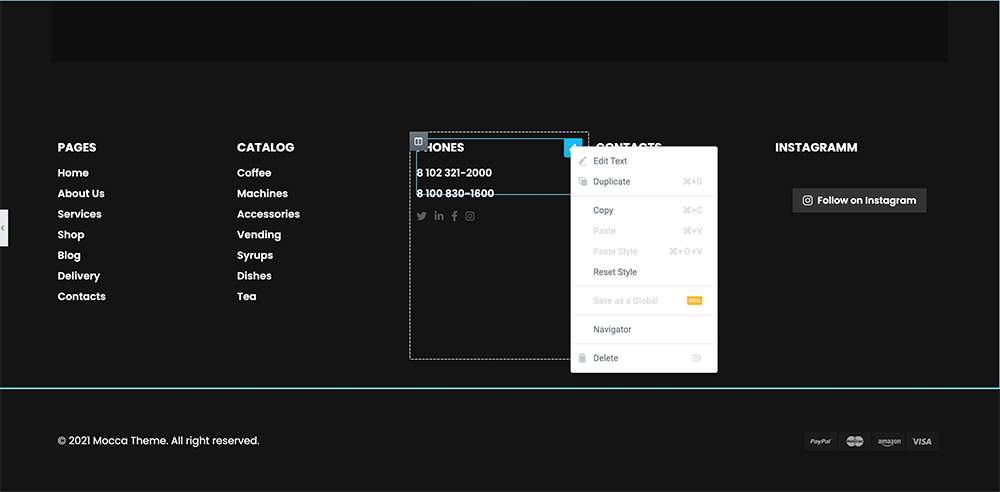
To Duplicate or Remove Section you need to right-click on the icon Edit.
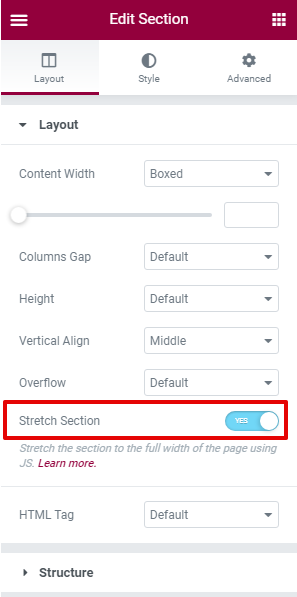
Section full width
To create a new unique section use section settings.
We will explain how to create a full width content section.
Step 1 - Go to your page / post, click Edit with Elementor
Step 2 - Click the Add new section or Edit section
Step 3 - Activate the Sctretch section
Row background
Step 2 - Click the Add new section or Edit section
Step 3 - customize background inStyle section
You can use Global Section Background or customize normal fnd hover section background.

Revolution slider
First please import all the slides from a folder DemoContent/Revoslides using Revoslider import
- Documentation: slider-revolution-documentation
- Video tutorials: On youtube
If you are unfamiliar with this awesome plugin, we recommend that you use the online documentation
You can use these plugins with the irepair theme and you are fully compliant with the Envato’s policy, but you cannot activate them as the owner (so don't try to use the irepair purchase code to activate one of these plugins).
When you purchase a theme from ThemeForest that bundles Visual Composer and Revolution Slider, you are free to use these Premium plugins with the theme. However, your irepair purchase does not give you individual Visual Composer and Revolution Slider licenses that allow you to activate or download these plugins as you wish. Activation doesn’t mean the plugin will not work but only that you cannot receive direct updates. Please don't worry if you see warning messages about the plugin license activation.
To update you need:
- Navigate to the Plugins menu in your WordPress admin area.
- Deactivate revolution slider, delete it
- Go to Install Required Plugins
- Upload and install the new version
- Activate slider.
Add Custom css
Appearance - Customizer - Additional CSS. Here you can add your own code to override the styles.
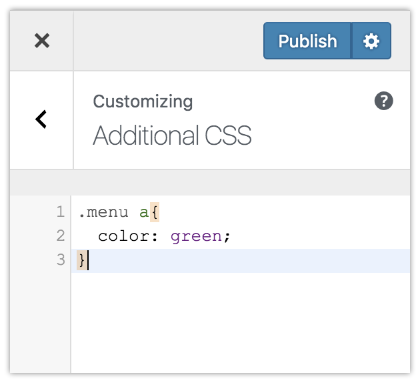
If you don't know anything about СSS and web pages, before doing anything with this template I recommend you to take at least some basic tutorial or hire somebody experienced to do this.
As for tutorials we recommend w3schools.com
Auto-Updating
You can now enable the Auto-Updating feature for irepair. To do this, please first make sure that you have the Envato WordPress Toolkit plugin installed. If you haven't already installed this plugin, you should see a notification on the top of your Dashboard stating that some required plugins haven't been installed or activated. Install and activate all of the required plugins, including the Envato WordPress Toolkit.
After you have installed and activated the Envato WordPress Toolkit, please go to Envato Toolkit from your dashboard and enter your Marketplace Username and API Key. You can find your API Key by logging into your profile on Themeforest and navigating to Profile > Settings > API Keys.
When you have entered your Marketplace Username and API Key and clicked Save Settings, a new tab will appear at the top of the screen named "Themes". Click on this tab to see all the themes you have purchased. If there is an update available for a theme, you will be notified here. To update your theme, just click on the "Update Automatically" link.
Please note that each time you use the Auto-Update feature to update the theme, a backup file of the old version of the theme will be stored on your server in ".../wp-content/envato-backups".
Manual Updating
You can update your theme manually by performing the following steps:
- Download the latest theme zip file from ThemeForest
- Extract it and locate irepair.zip
- Extract irepair.zip and locate the irepair folder
- Copy/Replace content of the irepair folder to the /wp-content/themes/irepair folder of your web site.
Speed Optimization
If you think your website takes too much time to load maybe you should.
- Reduce the number of posts on the page
- Reduce the number of unnecessary plugins
- Use more icons and less images
Child Theme
irepair comes with a Child Theme.
Simply install irepair-child.zip like a regular WordPress theme.
What is a Child Theme?
A child theme is a theme that inherits the functionality of another theme, called the parent theme. Child themes allow you to modify, or add to the functionality of that parent theme. A child theme is the best, safest, and easiest way to modify an existing theme, whether you want to make a few tiny changes or extensive changes. Instead of modifying the theme files directly, you can create a child theme and override within.
Why use a Child Theme?
If you modify an existing theme and it is updated, your changes will be lost. With a child theme, you can update the parent theme (which might be important for security or functionality) and still keep your changes. It’s a great way to get started if you are just learning WordPress theme development.
Changelogs
Changelogs file in folder theme/irepair/changelog.txt